| Trial of the Champion | ||||||||||||||||||
|---|---|---|---|---|---|---|---|---|---|---|---|---|---|---|---|---|---|---|
| Champion, CC5, ToC, ToC5 | ||||||||||||||||||
| File:LoadScreenArgentDungeon.jpg | ||||||||||||||||||
| Location | Argent Tournament Grounds, Icecrown | |||||||||||||||||
| End boss | The Black Knight | |||||||||||||||||
| Instance info | ||||||||||||||||||
| Type | Instance | |||||||||||||||||
| Advised level | 80 | |||||||||||||||||
| Player limit | 5 | |||||||||||||||||
| ||||||||||||||||||
Trial of the Champion is an 5-player dungeon in the Crusaders' Coliseum with three encounters that will include Champion's Seals as each one is defeated in Heroic mode only.
Start the event by speaking with Arelas Brightstar or Jaeren Sunsworn in the center of the coliseum once the party is mounted atop their Argent Warhorses.
Every loot item which drops in both Normal and Heroic modes of this dungeon is Epic quality - much of it equalling or surpassing Naxxramas drops in some slots. It's difficulty should not be underestimated though, and it is by no means a "get quick epics" scheme for under-geared players. Just like Magisters' Terrace back in Burning Crusade, groups should come prepared to this instance because the level of difficulty is greater than ANY of the level 80 five-man instances such as Utgarde Pinnacle and Halls of Lightning on Normal mode. It is on a similar difficulty level to that of beginning heroics such as Utgarde Keep and The Nexus. On Heroic mode, Trial of the Champion is one of the most difficult five-man instances at level 80!
Bosses
The dungeon progresses in a linear fashion, but with a different encounter set based on the player's faction:
The first encounter pits the player's party against three champions of the opposite faction:
| Alliance champions | Horde champions |
|---|---|
The second encounter is three packs of three trash mobs, followed by one of either:
 Argent Confessor Paletress
- Eadric the Pure <Grand Champion of the Argent Crusade>
Finally, all parties will face the 'surprise' encounter of:
Grand Champions Encounter
This encounter is done on the Argent Warhorse. To mount the warhorse the player must have a lance equipped. Lances can be found at the entrance of the Dungeon. The encounter starts with some Role Play with the herald introducing the players and the Champions. The fight consists of 4 "packs".
The first three packs can be considered "trash" and consist of three groups of three mounted mobs of the race of the three representing Factions. The fourth pack are the three Champions.
The trash is handled easily by focusing on one mob at the time (mark them out). If all 5 players can charge in on the same initial target, it should go down quickly after if not already at the 5th charge because of javelins throws (2) of the first chargers. Try and focus on the same second target and the trash mobs should go down pretty easy. Make sure you keep up your shield (3 stacks) at all time during this encounter.
When the three trash packs are down, the three Champions will attack your group. Basically this is the same deal: all focus on one target and they should go down. The difference is that they have more health and use more shields than the trash.
Note that when you take down a Champion, he will try to get back on one of the mounts on the outside. You can prevent him from doing that by simply running over him with your mount. All three Champions must be downed at the same time before you can engage the Champions in normal combat. To do this agree on one person to stand on the first downed Champion, so he gets knocked down the moment he tries to get up (just standing still on a Champion is enough to knock them down again). Same goes for the second Champion.
Once all three are down, you are going to be dismounted; this is the key signal to quickly equip your normal weapon again (important) and engage the Champions. The tank can pick up the three Champions easy and should be downed one by one to end the encounter.
An alternate strategy is to have everyone exit the arena immediately after all three Champions are dismounted, which will cause them to vanish and re-appear at the gate, off their horses, ready to be fought on foot - giving you time to rebuff and get things under control. Whether or not this is a bug and will be hotfixed is uncertain.
None of the Champions are susceptible to any form of Crowd Control.
By and large, the following order should be followed to ensure a smooth victory;
- Lana Stouthammer/Deathstalker Visceri - poison clouds and DoTs make her/him the most dangerous champion.
- Colosos/Runok Wildmane - his heals aren't especially potent but can still draw things out longer than desired. Having a mage, Shadow Priest, or any other class who can interrupt focus them and smack their Lesser Healing Wave when they see it can help a lot.
- Melee heavy group; Marshal Jacob Alerius/Mokra the Skullcrusher - Bladestorm can make swift work of a melee-heavy group, especially on heroic, and especially if the Rogue is also present.
- Ranged/Clothie-heavy group; Jaelyne Evensong/Zul'tore - their arrows hit hard and fast and unless they're controlled quickly by the tank, they can destroy your healer before anyone can react.
- Ambrose Boltspark/Eressea Dawnsinger - the least dangerous of the lot, save maybe for their Polymorph. Having a Mage or S.Priest focus on them and interrupt their Fireball will render them largely harmless.
Argent Champion Encounter
The next phase will feature three trash packs, followed by one of either Argent Confessor Paletress or Eadric the Pure. The trash packs consist of one Argent Priestess, one Argent Lightbringer and one Argent Monk each.
On the whole, the kill order should be Priestess > Lightbringer > Monk - on heroic mode, the Monk will channel a spell that reduces cast and attack times by 70% when he is 'killed'.
This shield, and the effect, can be broken by ![]() [Mass Dispel].
[Mass Dispel].
Once all three trash packs are dealt with, the boss (whichever one you ended up with) will become hostile and attack.
Eadric the Pure
Eadric the Pure needs to be controlled quickly as his passive buff, "Vengance", causes his attacks to crit quite often, and he can quickly kill a healer or ranged DPS if the tank isn't quick enough picking him up. Once engaged it is a relatively simple tank-and-spank encounter. He will make use of two moves during the fight;
- Radiance: Announced by a Raid Warning - as per instruction, if you "shield your eyes" (turn to face away from him), you will remain unaffected by the spell. Anybody facing him when the spell goes off will be interrupted and subject to a 4 second stun effect.
- Hammer of the Righteous: This attack is connected to the 5-man heroic-only achievement, The Faceroller. He will stun one party member at random with a [Hammer of Justice] style move and ready a large, glowing hammer, much like those used by the Dwarves of Wildhammer Keep in Shadowmoon Valley.
If the stunned person, or someone else in the group, removes the stun in time (it is a magical effect so ![]() [Dispel Magic] and
[Dispel Magic] and ![]() [Cleanse] will do the job, as will PvP trinkets or the Human racial, Every Man for Himself), then the targetted player will instead catch the hammer and be able to throw it back at him with button 1 on their quickbar.
[Cleanse] will do the job, as will PvP trinkets or the Human racial, Every Man for Himself), then the targetted player will instead catch the hammer and be able to throw it back at him with button 1 on their quickbar.
The hammer only lasts for 4-5 seconds before vanishing if not used, so careful timing is required on heroic mode to ensure the hammer deals the killing blow. Reducing him to ~5% health and then stopping all DPS to wait for the next hammer is the easiest way to do this.
If the stun is not cleared, the targetted player will take upwards of 15k damage.
Once reduced to 1hp, Eadric will run to the centre of the arena, place his loot chest, and then flee.
Argent Confessor Paletress
Once hostile, she will begin casting ![]() [Holy Fire] and Holy Smite at random party members; both of these, as well as her rather powerful
[Holy Fire] and Holy Smite at random party members; both of these, as well as her rather powerful ![]() [Renew], can be counterspelled and interrupted, so do so when possible. Her Renew can also be dispelled from her or her summoned add, and since it ticks for 15-20k, it's advisable to do so.
[Renew], can be counterspelled and interrupted, so do so when possible. Her Renew can also be dispelled from her or her summoned add, and since it ticks for 15-20k, it's advisable to do so.
When she is first reduced to 50% she will knockback and stun all party members and summon an add, "Memory of X" - where X is a randomly selected boss from seemingly anywhere in the game, including Ignis the Furnace Master, Edwin VanCleef, Hogger, Lady Vashj and others.
Regardless of what the add may resemble it will have only a few basic attacks; a magical debuff (+90% cast times), a party-wide Fear (which can be resisted through ![]() [Berserker Rage] or
[Berserker Rage] or ![]() [Fear Ward], or removed through trinkets/spells/racials, but cannot be interrupted during the casting) and melee attacks.
[Fear Ward], or removed through trinkets/spells/racials, but cannot be interrupted during the casting) and melee attacks.
Once summoned, all DPS should focus on killing the add and ignore Paletress, as she will throw up a shield protecting her from harm and returning 25-50% of all damage dealt to her to the caster. This shield will vanish when the add is slain and she can then be defeated.
As with Eadric the Pure, once reduced to 1hp, she will run to the centre of the arena, place her loot cache, and leave.
The Black Knight
When the party asks their herald to begin the fight after Eadric or Paletress are defeated, he will point to the edge of the arena and state "Wait... what's that, up in the rafters?"
A short RolePlay session will begin where the Black Knight, atop a ![]() [Bone Gryphon], flies into the arena, kills the Herald (Arelas Brightstar for Alliance or Jaeren Sunsworn for Horde) for ruining his "grand entrance" and engages the party in a three-phase fight. In the first two phases he will have one or more Ghoul pets - be aware that these can all use Explode much like the ability given to players affected by
[Bone Gryphon], flies into the arena, kills the Herald (Arelas Brightstar for Alliance or Jaeren Sunsworn for Horde) for ruining his "grand entrance" and engages the party in a three-phase fight. In the first two phases he will have one or more Ghoul pets - be aware that these can all use Explode much like the ability given to players affected by ![]() [Raise Ally], and on heroic mode this damage can be quite devastating.
[Raise Ally], and on heroic mode this damage can be quite devastating.
Through the first two phases, he will lay the standard Death Knight diseases (![]() [Frost Fever] and
[Frost Fever] and ![]() [Blood Plague]) on his target, as well as spawning
[Blood Plague]) on his target, as well as spawning ![]() [Desecrated Ground] periodically. The damage from this is ignorable with a good group but a slightly less geared group may wish to drag him out of it to minimise the amount of stress-related hair-loss inflicted on the healer.
[Desecrated Ground] periodically. The damage from this is ignorable with a good group but a slightly less geared group may wish to drag him out of it to minimise the amount of stress-related hair-loss inflicted on the healer.
- Phase 1: The Black Knight (Forsaken)
In Phase 1, the Black Knight, returned from the dead, appears as a Forsaken in his old armour. He will raise the body of the slain Herald from the dead as a Ghoul which will also engage the party; the tank must be aware of this to pick him up so he doesn't kill your healer. The Ghoul is not elite, and a solid melee DPS can easily 'tank' him if needed - but all DPS should focus on it to kill it fast enough that it does not explode, especially if you want the heroic-only achievement, ![]() I've Had Worse. Once the Ghoul is defeated, the party can then kill the Black Knight. Hm, that seemed too easy... oh, never mind, he's getting up again!
I've Had Worse. Once the Ghoul is defeated, the party can then kill the Black Knight. Hm, that seemed too easy... oh, never mind, he's getting up again!
- Phase 2: The Black Knight (Skeleton)
This guy doesn't know when to give up. In Phase 2, the Black Knight will rise as a Skeleton and instantly spawn an ![]() [Army of the Dead]. There are two strategies here.
[Army of the Dead]. There are two strategies here.
- If your group is mostly single-target DPS, the tank can kite the boss around the arena with the ghouls in tow; so long as he keeps a hold of them; and thus avoid anyone being hit by Ghoul Explosion.
- If the group has a couple of good AoErs (mages, warlocks, shadow priests, warriors with cleave/whirlwind spam, rogues, etc.) then the tank can gather the lot and have the AoE shred through them before any have a chance to explode.
Once the Army of the Dead is dealt with, the Black Knight can be killed - again.
And you're done!
...I think.
Nope, wrong again, up he gets for Phase 3!
- Phase 3: The Black Knight (Wraith)
Third time's the charm - the Black Knight gets back to his... er, ghostly remnants of feet and comes at you a final time. There are no adds to deal with in this final phase, but he will constantly deal damage to all party members. One party member will be afflicted by "Marked for Death" - the healer MUST keep their eyes open here as Marked for Death will increase their magical damage taken by 200% and this can very quickly result in their death if not watched for. Other than that, it is a tank-and-spank fight. When slain this third and final time, he stays dead, and you can collect your loot from the blackened orb he leaves behind like any other Wraith.
Note, if the ![]() [Desecration] effect from Phase 2 is still present when he ressurects, move out of it quickly, as it will lay you to waste in very short order when coupled with Marked for Death.
[Desecration] effect from Phase 2 is still present when he ressurects, move out of it quickly, as it will lay you to waste in very short order when coupled with Marked for Death.
Loot
On heroic mode, each encounter includes an ![]() [Emblem of Conquest] and a
[Emblem of Conquest] and a ![]() [Champion's Seal].
[Champion's Seal].
Grand Champions
Argent Champion
Depending on who was fought:
The Black Knight
Gallery

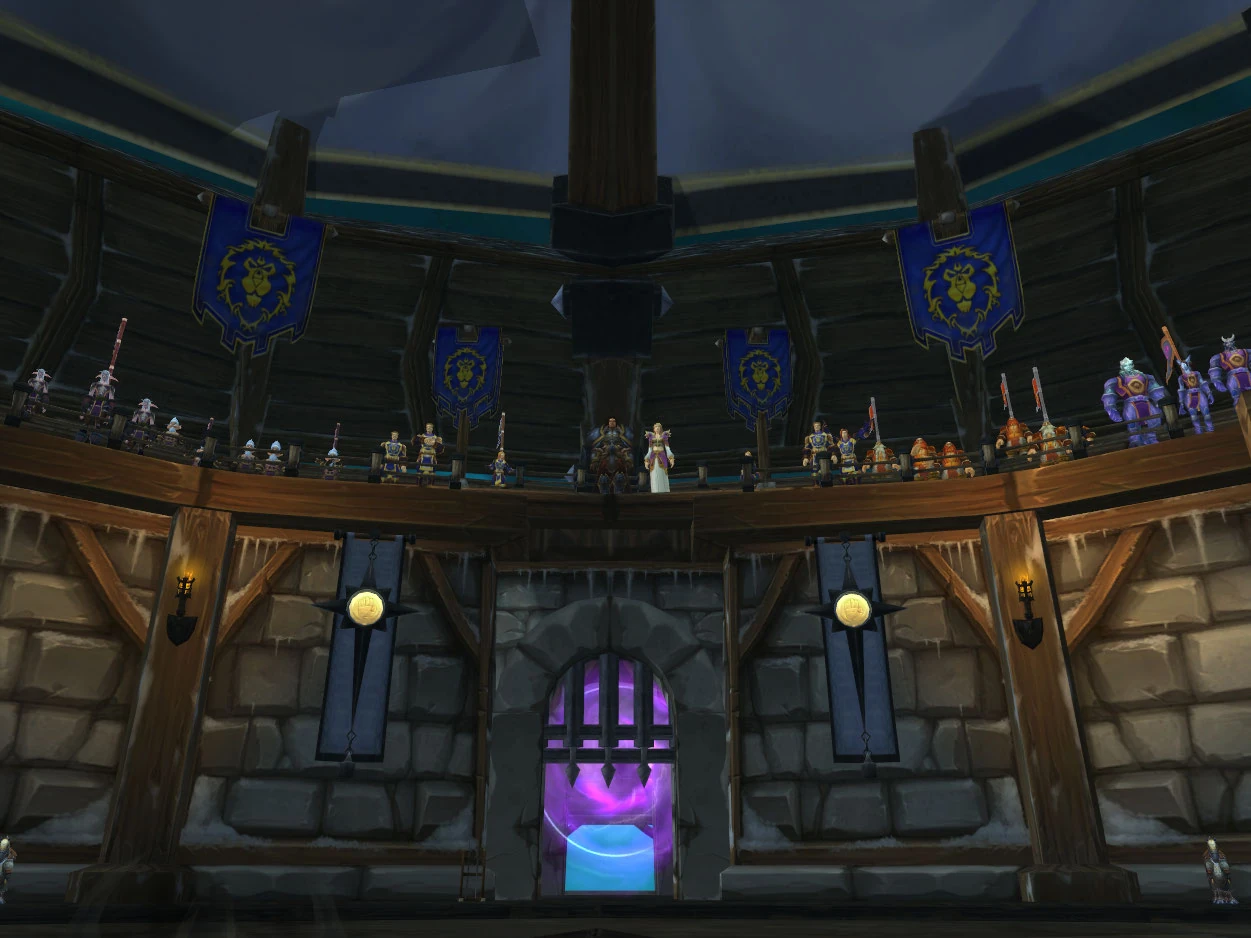
Alliance side of the Crusaders' Coliseum.

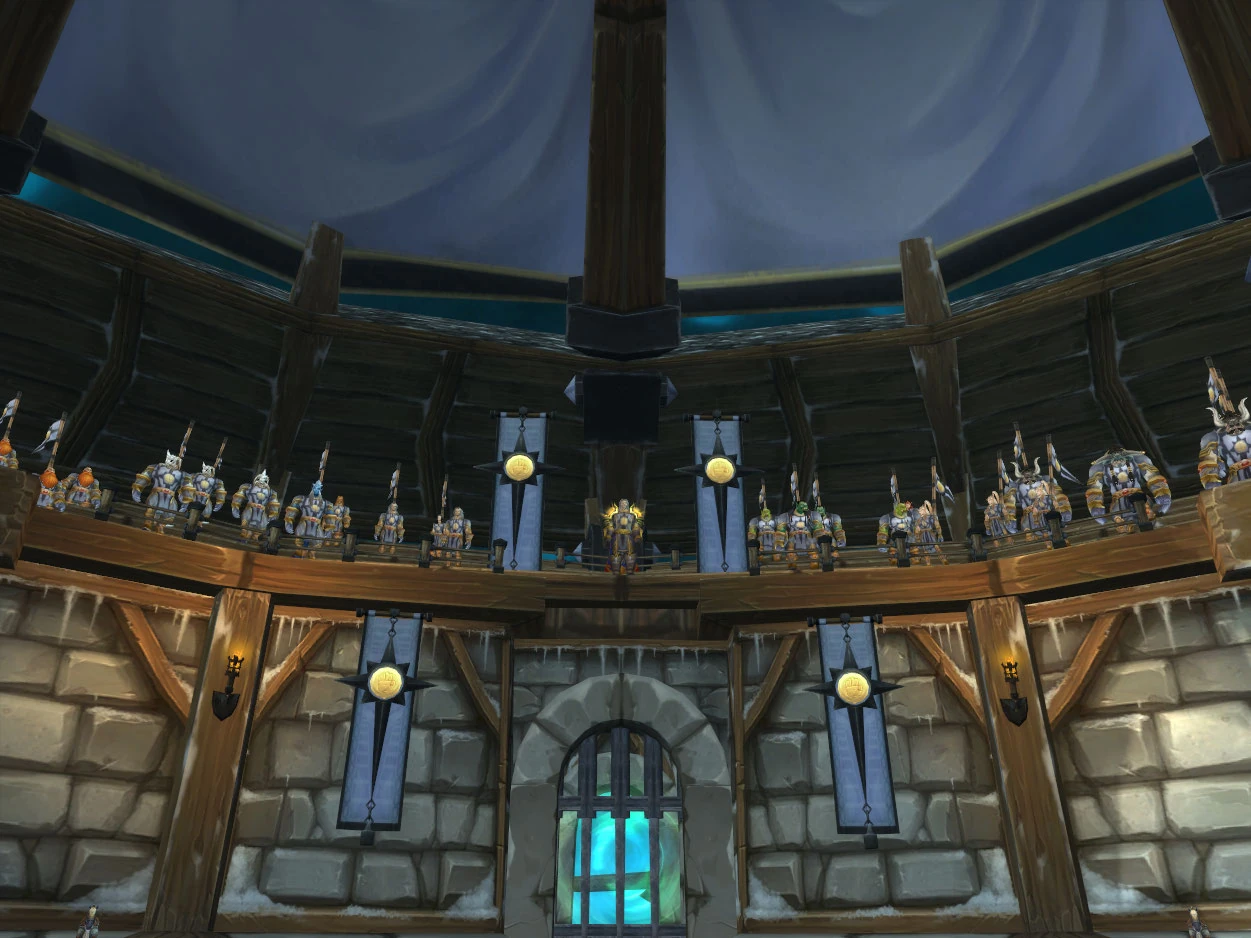
Argent Crusade side of the Crusaders' Coliseum.

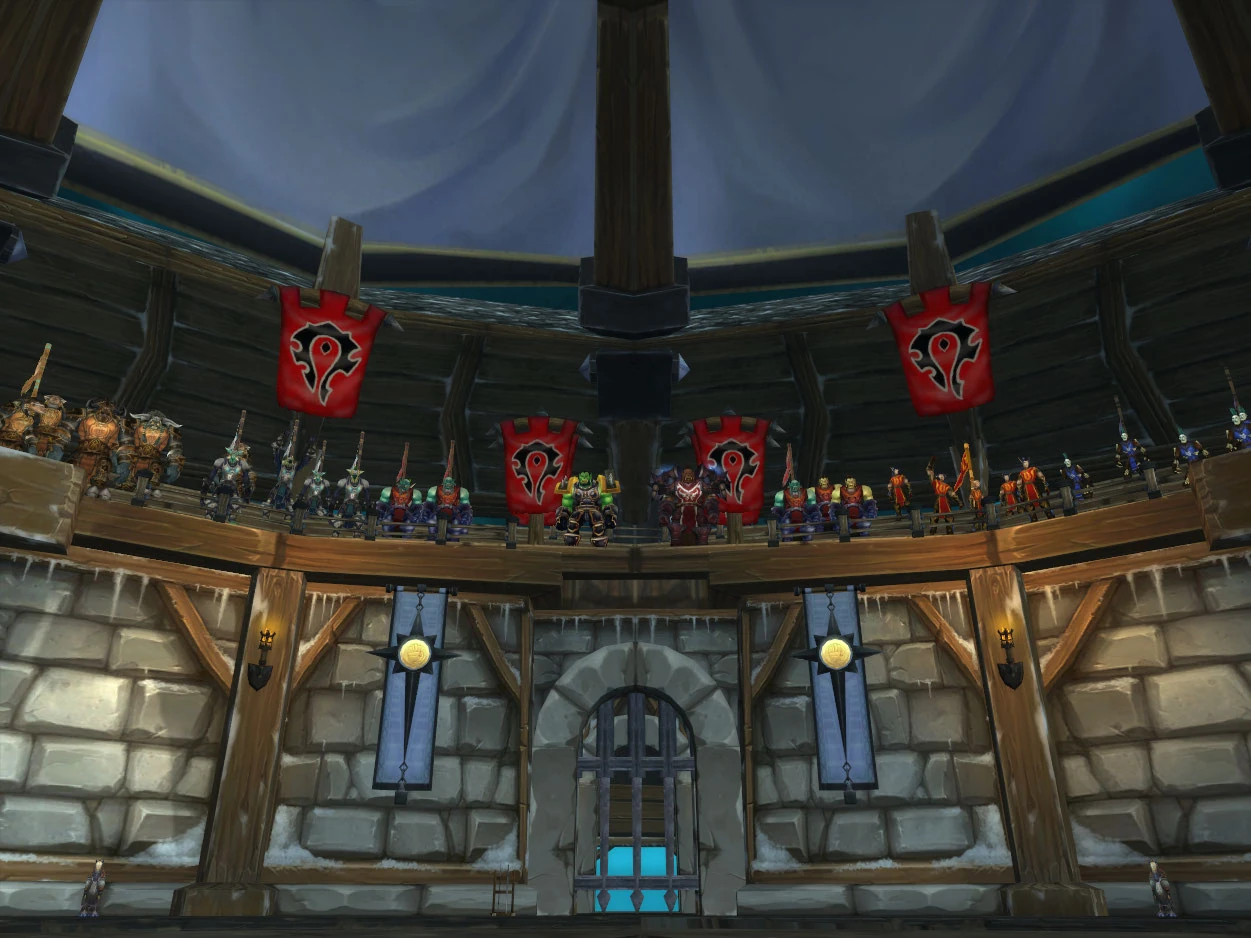
Horde side of the Crusaders' Coliseum.
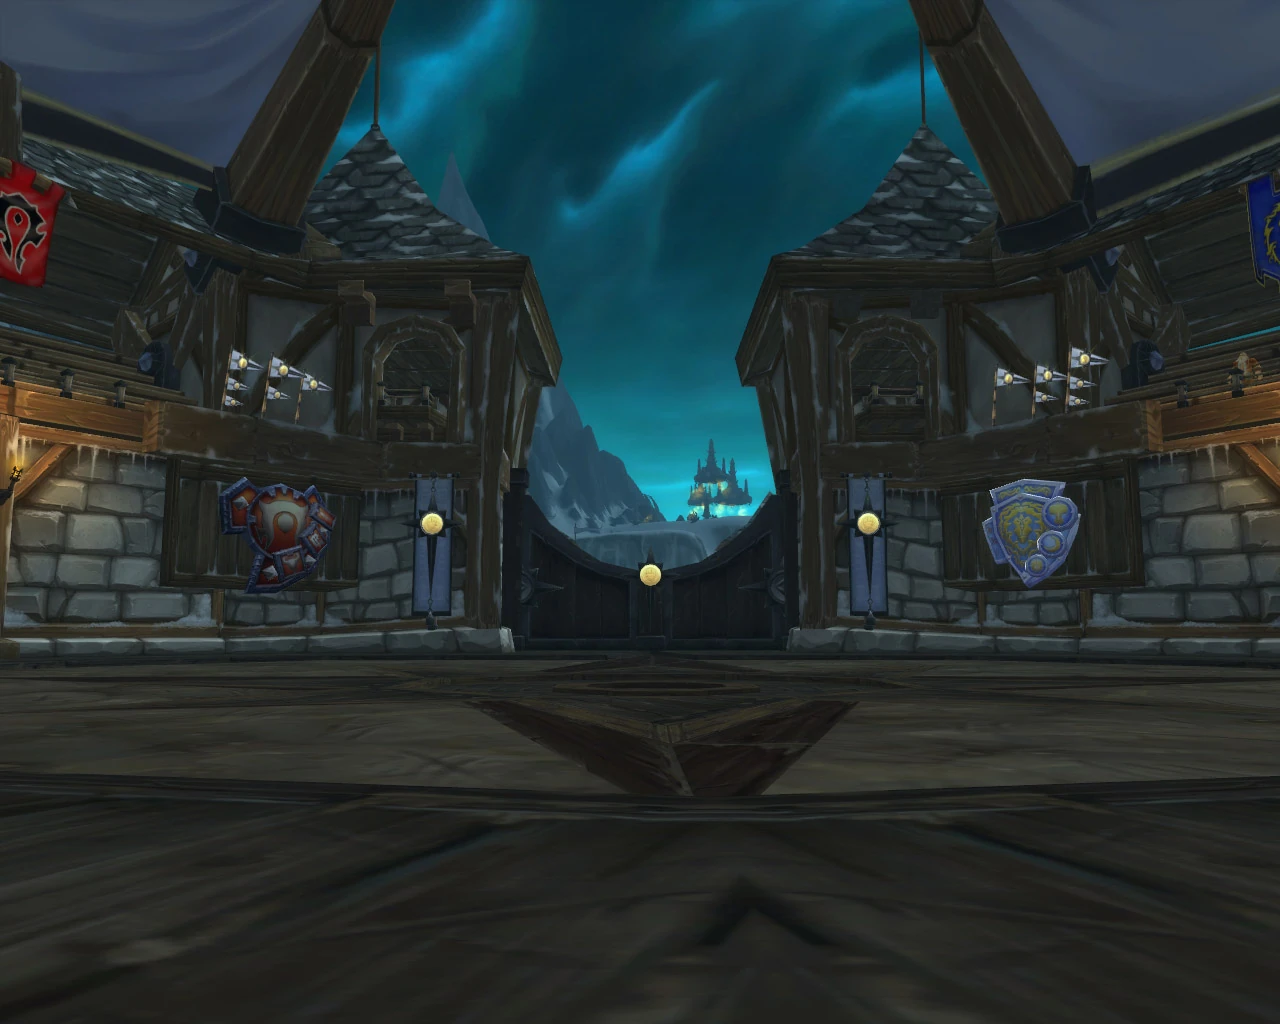
The Gates from where all bosses come.
- InstanceMap-TheArgentColiseum1.jpg
Instance map of the Crusaders' Coliseum.
Video
Normal PTR encounter
See also
- Trial of the Crusader - 10/25 man raid instance
Patch changes
- Template:Patched
External links
| ||||||||