Template:Coilfang Reservoir

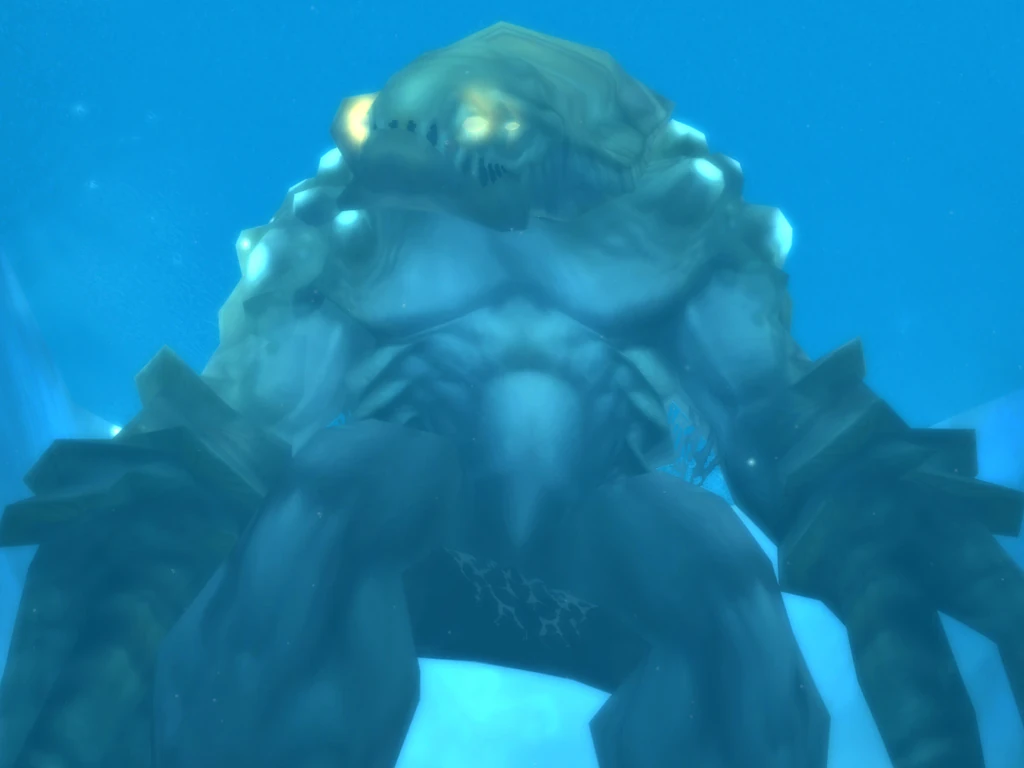
Quagmirran in his watery hovel
Third and final boss of The Slave Pens in Coilfang Reservoir. Quagmirran is a Fungal Giant.
General Information
- Level (Normal): 64 (Elite)
- Level (Heroic): 72 (Elite)
- Type: Giant
- Health (Normal): about 100,000 health
- Health (Heroic): about 153,000 health
- Map Location
Abilities
Acid Geyser - Quagmirran selects one random party member and initiates a channeled cone AoE nature damage attack in the direction of that party member. During the Acid Geyser, the tank may taunt Quagmirran to force the boss to focus the attack on him for the duration of the taunt debuff, but Quagmirran will turn back to his original target when the debuff ends if the Acid Geyser timer has not yet finished. After the channel is done, Quagmirran will run after the party member he was targetting, ignoring the tank. It's not clear if this is a complete aggro wipe.
Poison Bolt Volley - Standard AoE poison bolt volley hitting for 2.5k nature damage with added dispellable poison DoT.
Strategy
Prior to engaging this boss remember to unlock and free Naturalist Bite in the cage in the room you are in. When you free him, mobs will spawn. Be prepared! After freeing him you can talk to him and he will buff you with a 30 minute "Mark of the Bite" which grants you 110 Nature Resistance and +5% on all stats. This will help with the Poison DoT and his AoE as they both are Nature based.
Nature resist totems/auras stack with the "Mark of the Bite" buff and should be used if available. Hunters turn on ![]() [Aspect of the Wild], Shamans drop
[Aspect of the Wild], Shamans drop ![]() [Nature Resistance Totem].
[Nature Resistance Totem].
The fight is primarily a tank and spank fight, with healers concentrating on healing the tank and cleansing the dot from the poison bolt volley.
Heroic Mode
The strategy does not change between normal and heroic, though more care to survival should be taken due to the extra damage.
- You should at all costs try to keep Bite alive, that NPC that gives your group a nature resist buff. This makes the fight a bit less difficult as you will be resisting (partially or fully) the poison damage. When freeing Bite, it is recommended to have all players stand in the tunnel where the adds spawn and keep the adds far enough from Bite for Bite to not enter combat. When fighting Quagmirran, make sure ranged DPS stands nowhere near him or he will be killed by Quagmirran quite easily.
- This guy hits fairly hard in melee, hitting an average geared tank for ~2.2k.
- His Poison Bolt Volley has a very wide radius, ignores line of sight and is impossible to avoid.
- He has a very nasty (~5.5k on leather) frontal cleave. Melee DPS should be extremely cautious not to stand in front of him at any time.
- If a party member repeatedly dies during Acid Geyser, they need more health. The tank will not be able to pull Quagmirran off them after Acid Geyser is done if taunt is blown, used trying to save them.
- Make sure all ranged DPS spread out, since the Acid Geyser ability is an AoE attack. If your healers and ranged DPS stay close to each other then all will get hit with the AoE if one is targeted.
- He does a lot of nature damage so wearing some nature resist helps if healing has trouble keeping up. Don't gimp your other stats too much though. Dampen Magic casted on everyone but the tank is useful. Poison dispelling, including the Shaman totem, is obviously also very useful. :)
- Instead of blowing a taunt to prevent Acid Geyser damaging a party member, if the tank times a taunt such that the taunt debuff doesn't wear off until after the Acid Geyser is finished, Quagmirran will not move and will remain on the tank.
Loot
|