| Opening the Dark Portal | ||||||||||||
|---|---|---|---|---|---|---|---|---|---|---|---|---|
| CoT:Dark Portal, CoT:DP, BM, CoT 2 | ||||||||||||
|
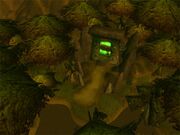
File:CavernsTime.jpg Opening the Dark Portal loading graphic | ||||||||||||
| Location | Caverns of Time, Tanaris | |||||||||||
| Race(s) | Template:Infinite Dragonflight Race | |||||||||||
| End boss | Aeonus | |||||||||||
| Advised level | 68-70 | |||||||||||
| Player limit | 5 | |||||||||||
| Key |
Escape from Durnholde Keep Heroic Mode: [Key of Time] | |||||||||||
| ||||||||||||
| Caverns of Time | ||
|---|---|---|
| ||
- For the event prior to the release of Burning Crusade, see Dark Portal Opens.

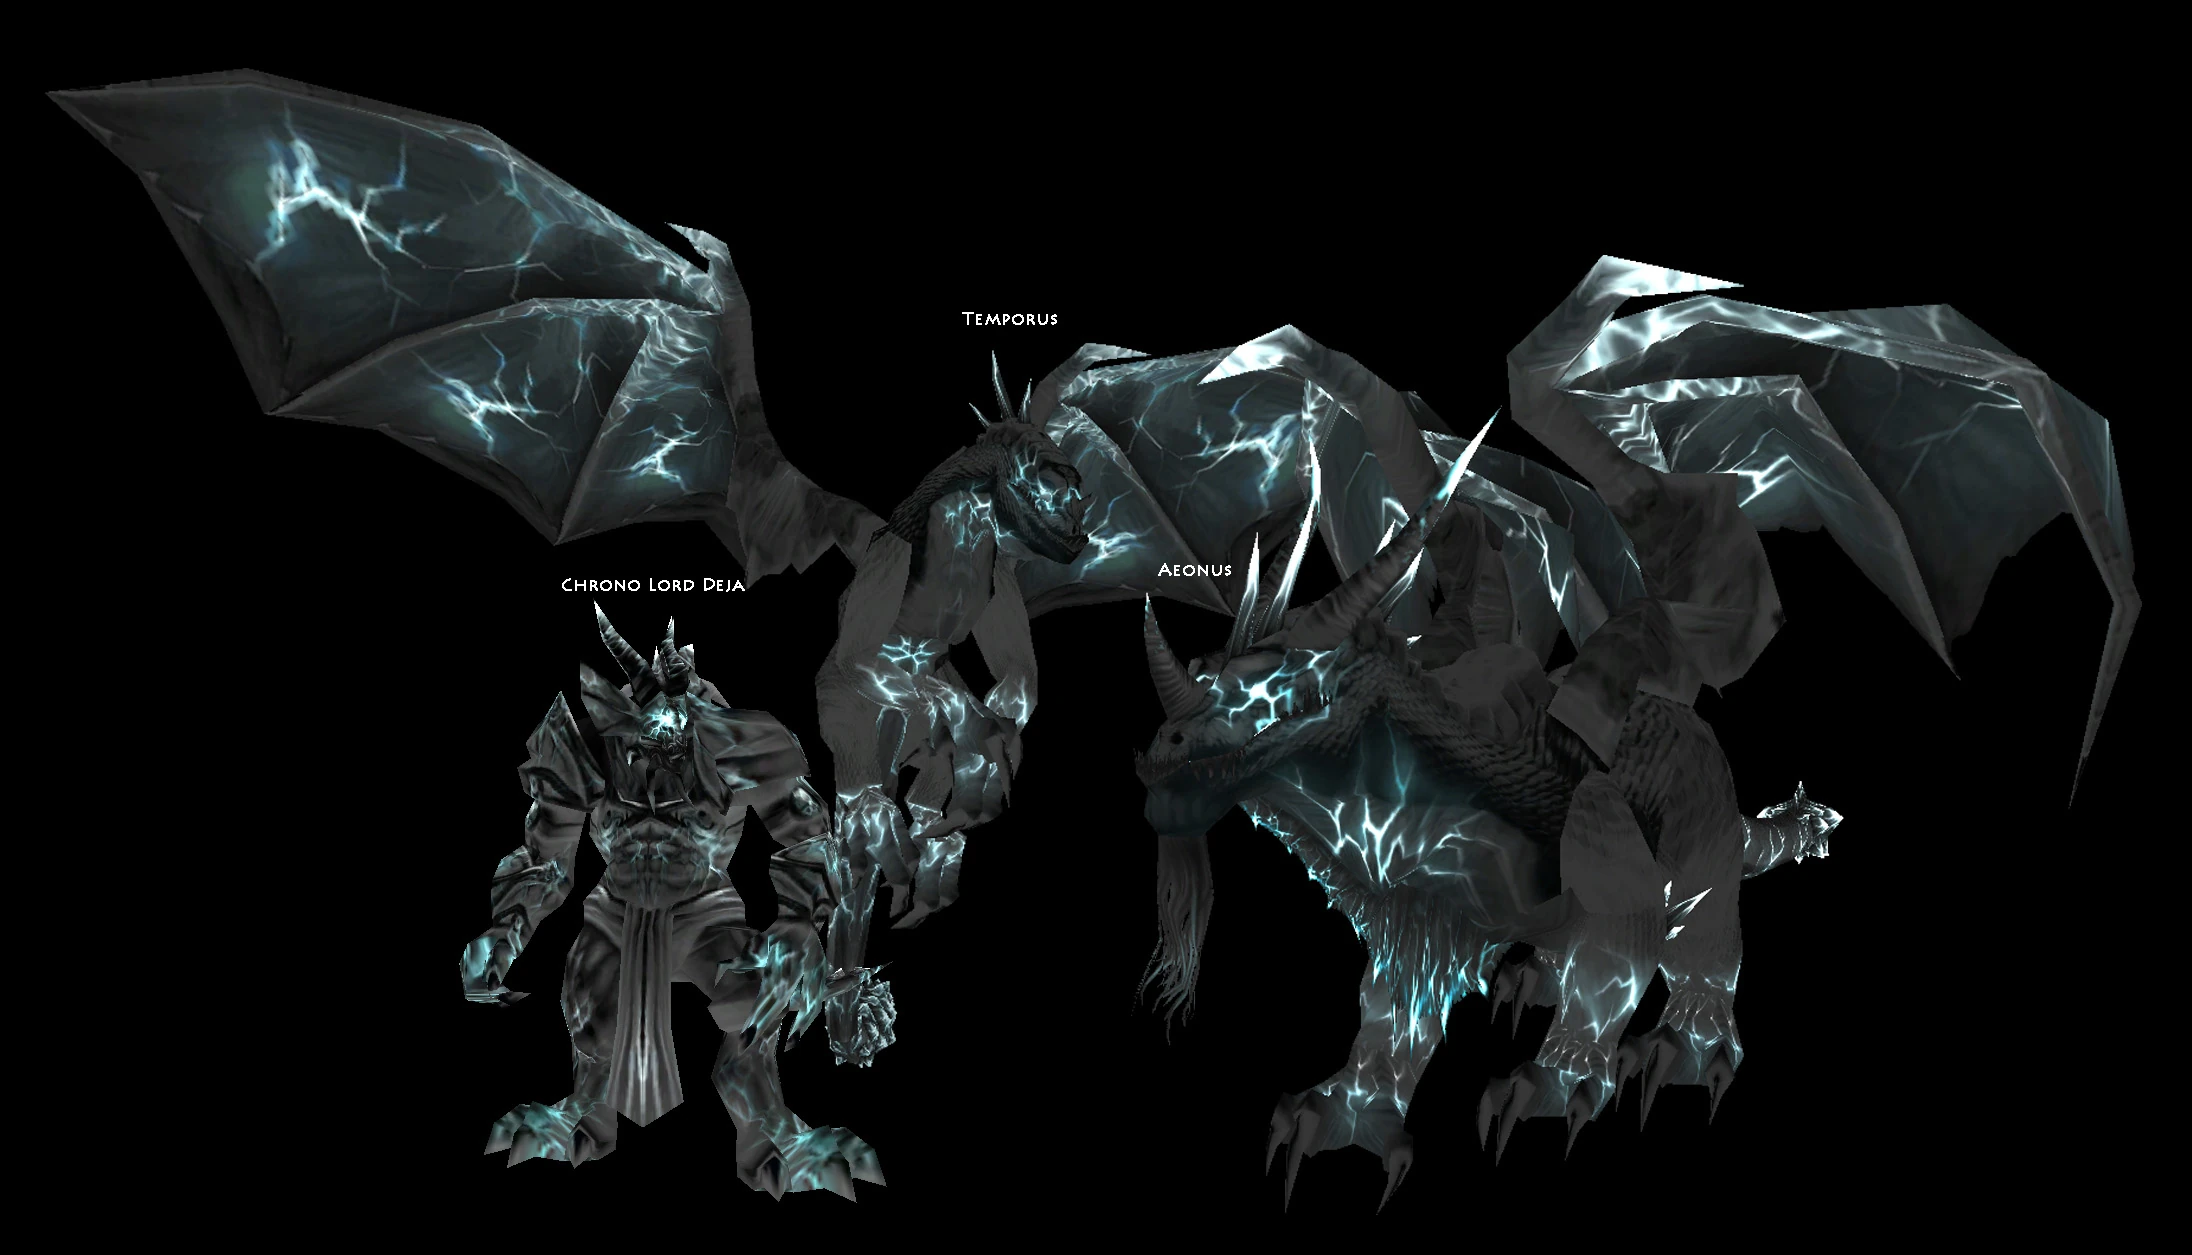
Opening the Dark Portal bosses
In this wing of the Caverns of Time, a group of players must defend the last Guardian ![]() Medivh, in a swamp known as The Black Morass. The Guardian Medivh, possessed by Sargeras, attempts to open the Dark Portal to Draenor, while wave upon wave of dragonkin of the Infinite Dragonflight attempt to defeat Medivh in order to alter time and halt the invasion of Azeroth from Draenor. This time sequence is set about a few months before Warcraft I events (circa 30 years before WoW).
Medivh, in a swamp known as The Black Morass. The Guardian Medivh, possessed by Sargeras, attempts to open the Dark Portal to Draenor, while wave upon wave of dragonkin of the Infinite Dragonflight attempt to defeat Medivh in order to alter time and halt the invasion of Azeroth from Draenor. This time sequence is set about a few months before Warcraft I events (circa 30 years before WoW).
General

The Dark Portal
- Reputation: 1112 with Keepers of Time (normal mode)
- Reputation: 1729 with Keepers of Time (heroic mode)
- Time: It takes about 30 minutes to fully clear the instance, starting from triggering Medivh until the last boss is dead.
- Note: You must complete Caverns of Time: Durnholde Keep to enter this instance.
Entry
Completion of Escape from Durnholde Keep and the following quests.
 [66] To The Master's Lair
- [68] The Caverns of Time
- [68] Old Hillsbrad
- [68] Taretha's Diversion
- [68] Escape from Durnholde
- [68] Return to Andormu
Dungeon Denizens
- File:IconSmall DragonBronze Small.gif Bronze dragon (one, Sa'at)
- File:IconSmall DrakeBronze Small.gif Bronze drakes
- File:IconSmall Crocolisk Small.gif Crocolisks
- File:IconSmall Medivh Small.gif Human (one, Medivh)
- File:IconSmall DragonInfinite Small.gif Infinite dragon (one, Aeonus)
- File:IconSmall SpawnInfinite Small.gif Infinite dragonspawn
- File:IconSmall DrakeInfinite Small.gif Infinite drakes
- File:IconSmall DrakonidInfinite Small.gif Infinite drakonids
- File:IconSmall WhelpInfinite Small.gif Infinite whelps
- File:IconSmall Jaguar Small.gif Jaguars
- Orcs
- File:IconSmall Snake Small.gif Snakes (critters)
- File:IconSmall Spider Small.gif Spiders
Creatures of Interest
Bosses
Trash
Before the event:
During the event:
- Rift Lord
- Rift Keeper
- Infinite Assassin
- Infinite Whelp
- Infinite Chronomancer
- Infinite Vanquisher
- Infinite Executioner
Loot
See Opening the Dark Portal loot.
Walkthrough
The Black Morass begins with the five players entering the portal in The Caverns of Time. Once inside, it is recommended that the players all pick up a Chrono-beacon from Sa'at before leaving the cave. The instance setting is a swamp which is filled with non-elite beast mobs that must be cleared. A path can be cleared straight south towards Medivh, but it is recommended to clear all trash in the areas where combat will occur during the event. Generally, only the islands and strips of land immediately across from Medivh need to be cleared, though a wider radius is safer until the group has a good sense of where the action will take place. See Map
The mobs can be easily rounded up several at a time by one player on horseback, led back to the rest of the party, and then burned down with AoE attacks.
Once any player enters the area approximately 10 meters from Medivh, the event will occur.
If Medivh dies, the encounter will reset itself in 5 minutes and players will be able to pick up a new Chrono-beacon from Sa'at. The non-elite beasts will not respawn.
The Opening of the Dark Portal
The event begins with Medivh calling for assistance and a portal quickly opening in one of the four designated zones: the first of 18 total waves of dragonkin of the Infinite Dragonflight. Once a given portal has been shut or enough time has passed, a consecutive portal will be opened in a different zone and the entire encounter is timed from the opening of the first portal. At waves 6, 12, and 18, there is a boss encounter. All of the portals will spawn mobs that will seek to drain Medivh's shield and eventually kill him.
Waves 1 through 5
Each of the first five waves of the event consists of one elite—either a melee-class Rift Lord or caster-class Rift Keeper—that is tethered to the portal, and a stream of non-elite mobs. While the portal is open, adds will spawn every 15 or 20 seconds according to this repeating cycle: 1 Assassin, 3 Whelps, 1 Chronomancer. These adds will head directly towards Medivh, and must be dealt with or they will drain his shield and kill him.
The non-elites all do small amounts of damage, and can be easily killed by any class; AOE is not required, though abilities like frost nova and snare can be useful for managing multiple adds at once. It is recommended, however, that one player focus specifically on the spawning creatures, while all other party members focus on the tethered elite. Frost-specced mages can do quite well at this job; a combination of hunter and mage is also effective. The hunter's pet can be used as a tank for the adds while the mage burns each one down; this also generally allows for good positioning near the healer. However, you should be smart about who you choose to put on the adds. The characters in the party with the highest dps should focus on the bosses, while a lower dps character (preferably also one with higher armor or a pet) should be assigned to the adds. The longer the boss stays up, the more adds will be spawned in total, leading to greater mana drained from the healer. If your mage has the highest dps, it is not wise to assign him or her as the primary add-killer, regardless of their ability to AoE.
If tanking is done by a paladin, they can stand on top of the portal and easily aggro the non-elite mobs using AOE ![]() [Consecration]. If done properly, they won't even come close to Medivh. If you do not have a Paladin (who can deal continuous DPS to all the adds using
[Consecration]. If done properly, they won't even come close to Medivh. If you do not have a Paladin (who can deal continuous DPS to all the adds using ![]() [Consecration] and
[Consecration] and ![]() [Holy Shield]/
[Holy Shield]/![]() [Retribution Aura]), it is generally recommended that the tank holding the elite **not** attempt to aggro any of the adds, as they will almost immediately go after your healer. It may be possible to hold them like this if DPS is high, but it is generally simpler to let them through and have one or two ranged DPS focus-fire them down while everyone else stays on the tethered elite.
[Retribution Aura]), it is generally recommended that the tank holding the elite **not** attempt to aggro any of the adds, as they will almost immediately go after your healer. It may be possible to hold them like this if DPS is high, but it is generally simpler to let them through and have one or two ranged DPS focus-fire them down while everyone else stays on the tethered elite.
Once you destroy the elite in a wave, everyone should kill the remaining non-elites and rest up for the next portal. The key here is pacing: while the next portal will open immediately after you down the elite (or sooner, if you're slow), it's best to have healers and mana-based DPS classes drink up before they start in on the next rift lord/keeper. The longer you wait, the more adds you will have to deal with and the farther behind you will get on new portals opening, but if clearing the adds is going well, but you need not rush immediately from one portal to another if your group isn't quite ready.
Each portal's elite will proximity aggro, but the adds will not (they walk straight towards Medivh until they are attacked). The DPS assigned to adds can take advantage of this by opening with a spell with a long casting time, e.g. ![]() [Pyroblast] or
[Pyroblast] or ![]() [Aimed Shot].
[Aimed Shot].
Wave 6: Chrono Lord Deja
Health: 89,000
Mana: 33,090
Special Abilities
- Time Lapse — Magic AoE debuff: Attack speed and movement speed reduced by 60%.(dispellable) Twenty yard range.
- Arcane Discharge — Arcane Damage: Hit all targets in a fifty yard range for 2200–2600 damage.
This fight can easily be done by four players, while the fifth defeats the spawning non-elite mobs. Alternatively, you can all dps him down and then use a beacon to clean up the remaining adds. Chrono Lord Deja takes the place of Rift Lord or Rift Keeper that would normally spawn with portal six.
Chrono Lord Deja is an easy fight. The only ability of note is the Arcane Discharge. This is easily healed through, and the party member assigned to deal with the trash headed for Medivh should still be able to do so during this encounter.
After Chrono Lord Deja is defeated, your group should have thirty seconds to a minute of rest before the seventh wave arrives, depending on how fast you killed him.
Heroic: Pulls people towards him, making his chain attacks much harder to avoid. Additionally, his Arcane Discharge is much more frequent and damaging. It now deals around 4000 damage.
Waves 7 through 11
Same as waves 1 through 5. Adds spawn according to this repeating cycle: 1 Executioner, 1 Chronomancer, 3 Whelps, 1 Assassin.
Wave 12: Temporus
Health: 110,000
Mana: N/A
Special Abilities
- Mortal Wound — Debuff, cannot be dispelled: Decreases healing on target by 10%, stacks up to 7 (as of patch 2.2) times. Lasts 12 seconds.
- Haste — Buff, can be dispelled/spellstolen: Temporus's attack speed and run speed is increased dramatically (+200%).
- Knock Away — Physical Damage, AoE: Knocks back all nearby enemies and reduces the threat of those affected.
- Untauntable — Temporus cannot be taunted.
You have several options for dealing with his Mortal Wound debuff:
- Have all five members focus on defeating the boss quickly before the debuff stacks too high, then kill the remaining non-elites after he is dealt with. Warriors can use last stand and shield wall towards the end to try and stay alive: if an off-tank is available, losing the MT towards the end can be an acceptable loss since there will be time to res afterwards.
- Use an off-tank to switch aggro. Switching aggro can be quite difficult, however, because Temporus is not tauntable.
- Try to evade Temporus for long enough that the Mortal Wound debuff wears off. The debuff is applied every six seconds and lasts 12 seconds. Note: If the tank runs Temporus too far away from the portal, he flies back and resets himself to full health immediately, making a wipe almost inevitable.
- Apply a paladin [Blessing of Protection], switching quickly to an off-tank that can busy Temporus while the debuff wears off.
- Use an ability or item which increases avoidance, such as dodge trinkets, shield block, etc. to avoid or block a Mortal Wound attack. Avoiding even a single one will cause the stack to expire before it is reapplied again.
The Mortal Wounds ability is applied every 3 seconds instead of 6 if Temporus is under the Haste effect. Therefore, this ability must be spellstolen or removed immediately.
Temporus is one boss where it is highly recommended to allow the non-elite mobs to pass by, then when Temporus is defeated to drop a Chrono-beacon near Medivh to clean up the remaining mobs. You may need to use beacons at some point just to deal with the amount of adds who have aggroed to the party and are attacking casters. Just be sure not to use the beacon too close to Temporus himself, as it will fail and be wasted.
The Haste buff increases run speed dramatically. Therefore, if your party has a mage spellstealing the Haste buff, then your mage should be the one assigned to drop a Chrono-beacon on Medivh about halfway through the fight. With the Haste buff, the mage can run to Medivh, drop off the beacon and be back to Temporus all within only 2 global spell cool-downs.
If the group has no mage, a priest can use Dispel Magic on Temporus, a warlock can summon his Felhunter and use Devour Magic or a shaman can use Purge to remove his Haste buff. As of Patch 2.3, Hunters can use a highrank Arcane Shot to dispel the buff
Rather than trying to evade and kite Temporus, a protection-specced warrior can tank and spank him. His "Mortal Wound" ability can be blocked and is on a ~6 second cooldown, so timely use of Shield Block can allow it to fall off.
Protection paladins should easily be able to keep up 100% block through the whole fight if the Haste debuff is dispelled.
This fight can get tough if your tank has trouble blocking or dodging Mortal Wound. In this case, a Subtlety rogue can evasion tank Temporus for the first 30 seconds by using Preparation. After that, the tank can step in. If a feral druid is tanking and Mortal Wound has stacked too high, a priest may want to keep a shield up; the druid should still be able to keep rage. On a side note, Frenzied Regeneration is unaffected by the debuff, so it can be used to make a last stand, if necessary.
Be warned that the threat reduction effect of Temporus' knock back ability can make it difficult for the main tank to maintain his top position on the aggro list. It is recommended - in spite of the urgency of this fight - to grant the tank some time to build up aggro before the damage dealers join in. It's advisable to have the party kill two or three waves of the non-elites before starting to dish out damage on the boss.
Heroic: Has a 6 second duration spell reflect.
Waves 13 through 17
- Waves spawn at an accelerated rate, sometimes with as little as one minute between portals.
- Adds spawn according to this repeating cycle: 1 Executioner, 1 Vanquisher, 1 Chronomancer, 1 Assassin.
- Due to accelerated rate, it might get tough for the designated add-dealer to take all the incoming waves. One possible strategy is to stop going after the Rift Lord or Rift Keeper at around wave 15 or 16 and just have the whole group at Medivh, taking out adds, while ignoring the elites. The non-elite adds stop spawning when the final boss comes - and you still have plenty of time to drink before engaging. It is possible to simply proceed as before however, especially if you have several beacons left. You can safely burn all of the beacons on the last round of adds prior to the appearance of the boss.
- Aeonus will likely spawn before the last Rift Lord is dead: simply ignore this and finish off the portals and the adds.
- When DPS is low (indicated if more than 4 adds are getting through each wave between waves 1 to 6), use one beacon to clear up adds after Temporus, leaving the group with a remaining 4 beacons. Assign a beacon at the wave 14, 15, 16, 17. Place the beacon not where Medivh is, but where the Rift Lords are to bring them down faster and to handle incoming adds. After wave 17 is down, drink and eat up. Medivh's shield should be able to take a beating until the group is ready to tackle the last boss.
Wave 18: Aeonus
Health: 150,000
Mana: N/A
Special Abilities
- Time Stop - AoE Debuff: Stuns all players for four seconds.
- Sand Breath - Arcane Damage: Deals 3500-4500 damage with a cone in front of Aeonus.
- Frenzy - Buff: Increases Aeonus's attack speed. Can be countered with a hunter's tranq shot.
The final boss and wave of the encounter, Aeonus spawns alone. He will immediately head towards Medivh and attack him. If Medivh's shield is in respectable condition, it is recommended that the party rest up before the battle. While Sand Breath is arcane damage, it appears that arcane resist gear does not dampen the damage dealt when he uses the skill. In any case, it is not so much a problem as it might look, as long as the tank faces him away from the rest of the party. That way the healer can focus on the tank.
Besides his abilities, Aeonus hits for very high amounts on any players. This is compounded by the Time Stop ability, causing Aeonus to continue to attack the highest aggro target while healing is unavailable. If healing is kept at a maximum, Aeonus will quickly fall to focused dps. ![]() [Spell Reflection](and bubble, of course) can be used to negate the effect of Time Stop, and give the tank time to use cooldowns such as potions or Shield Wall if need be.
[Spell Reflection](and bubble, of course) can be used to negate the effect of Time Stop, and give the tank time to use cooldowns such as potions or Shield Wall if need be.
Heroic Bosses and Repeat Attempts
As in any other Heroic, players are saved to the instance and are given badges for the boss-kills (Deja, Temporus, and Aeonus). This instance is unique in that you can fail after defeating either of the first two bosses and be forced to begin again. In order to prevent players from farming Badges in this way, the game gives regenerated bosses new names and denies all loot from them. If Chrono Lord Deja is defeated, he will be replaced by the "Infinite Chrono Lord" on the next attempt. Temporus becomes the "Infinite Timereaver".
Graveyard Zerging Aeonus on Normal
It is possible to graveyard zerg Aeonus. Should a party wipe on the last boss, run back to the instance as fast as you can. If Medivh's shield was around 100% when you began the Aeonus fight, it should be at about 30% when you rez. Drink and eat up then engage Aeonus again. The fight will not reset until Medivh is dead.
Why should the Alliance help?
Some have questioned why the Alliance should help Medivh in opening the Dark Portal. After all, it was the opening of the Dark Portal that triggered the First War and the collapse of the Kingdom of Azeroth (not to be confused with continent of Azeroth). If the Dark Portal was never opened, Azeroth and Draenor would have never been bridged. The Orcs would have never arrived, and the wars never taken place. Chrono Lord Deja of the Infinite Dragonflight claims that "many lives could be saved" and "the resulting wars could be erased".
However, if the Dark Portal was never opened, it is explained by the Keepers of Time that the Alliance would have never formed. Instead, the races that form the Alliance would have descended into a chaotic civil war. Azeroth would have then been mercilessly crushed by the invasion of the Burning Legion. The Burning Legion would have then initiated an act of mass genocide, effectively destroying all life on Azeroth. This would have resulted in many more deaths than the First War and many others combined. Therefore, preserving time and opening the Dark Portal can be seen as "the lesser of two evils".
Why should the Horde help?
The Horde, having already succumbed to the demonic bloodlust on Draenor, would almost certainly have perished if they had never traveled to Azeroth. Draenor's wildlife had begun to die and the soil was turning to dust. Infighting was rampant, and Kil'jaeden had abandoned the orcs after the destruction of Shattrath City. Azeroth was salvation for the Orc clans.
As mentioned above, had the orcs not traveled to Azeroth they would not have been present to join the final Alliance against the Burning Legion. While the events of the second invasion would certainly have been very different without the Orcs, it's likely the legion would have pressed through via another method. The native mortal races of Azeroth would then have been woefully unprepared to face the Legion.
Notes
The events in the instance do not coincide with previous accounts of the opening of the Dark Portal. In other accounts, Medivh's involvement in the actual opening was only hinted at or not mentioned at all. These sources state that the portal was discovered by the warlocks of the Shadow Council and through their work, slowly opened. Even after the opening, it's told that it is only large enough to fit a single Orc through. There was also only a single scout sent through initially. Medivh is not heard from for weeks prior to the opening, and is does not return until well after the First War is under way.
This contrasts with the instance's depiction of Medivh actively channeling and calling out to Gul'dan as he does so, followed by an instantaneous opening of the full-sized portal, complete with stone arches, through which he greets a legion of Orc warriors.
Videos
| |||||||||||
| ||||||||