(boilerplate tag) |
Js1006@legacy41549371 (talk | contribs) |
||
| Line 31: | Line 31: | ||
==Strategy== |
==Strategy== |
||
{{Stub/Strategy}} |
{{Stub/Strategy}} |
||
| + | There are two strategies for this encounter, the 3 groups vs 1 group. |
||
| + | |||
| + | ===1 Group=== |
||
| + | All casters / healers stands beneath the right hand pillar near mother shazrah, she is tanked at the opposite pillar facing along the the terrace with melee behind her, this avoids parries when she turns to cast beams (except directly at the melee) which can be deadly as she deals nasty damage to the main tank. Stand underneath the pillar also has the bonus that when player are kncoked up by the Sinister Beam you hit the top of the pillar and take slightly less fall damage |
||
| + | |||
| + | Offtanks stand directly ontop of the MT, try to use a ranged weapon or skill to attack the boss before she reaches the MT, otherwise you will not be in combat and the saberlash will not be split between them, 1 shotting the MT. |
||
| + | |||
| + | Max dps on the boss, people with fatal attraction must take care to run AWAY from the tanks or the caster groups, take a healthstone, put down a shadow protection cauldron at the start of the encounter for everyone. |
||
| + | |||
| + | Advantages: More space for people with fatal attraction to run around in |
||
| + | Disadvantages: It is possible for 3 people with fatal attraction to be teleported in to the caster group, this will do some nasty damage potentially causing a wipe |
||
| + | |||
| + | ===3 Groups=== |
||
| + | The casters / healers are split into three groups which are placed at equal angles and distances around the boss |
||
| + | |||
| + | Advantages: if a bad fatal attraction occurs at most one group will be hit |
||
| + | Disadvantages: it is much more likely a group will be hit by fatal attractions, and people with the attraction have less pace to run apart in |
||
==Craftable Resistance Gear== |
==Craftable Resistance Gear== |
||
Revision as of 00:41, 7 January 2008
|
High Warlord Naj'entus |
(lore) |
| Loot | |
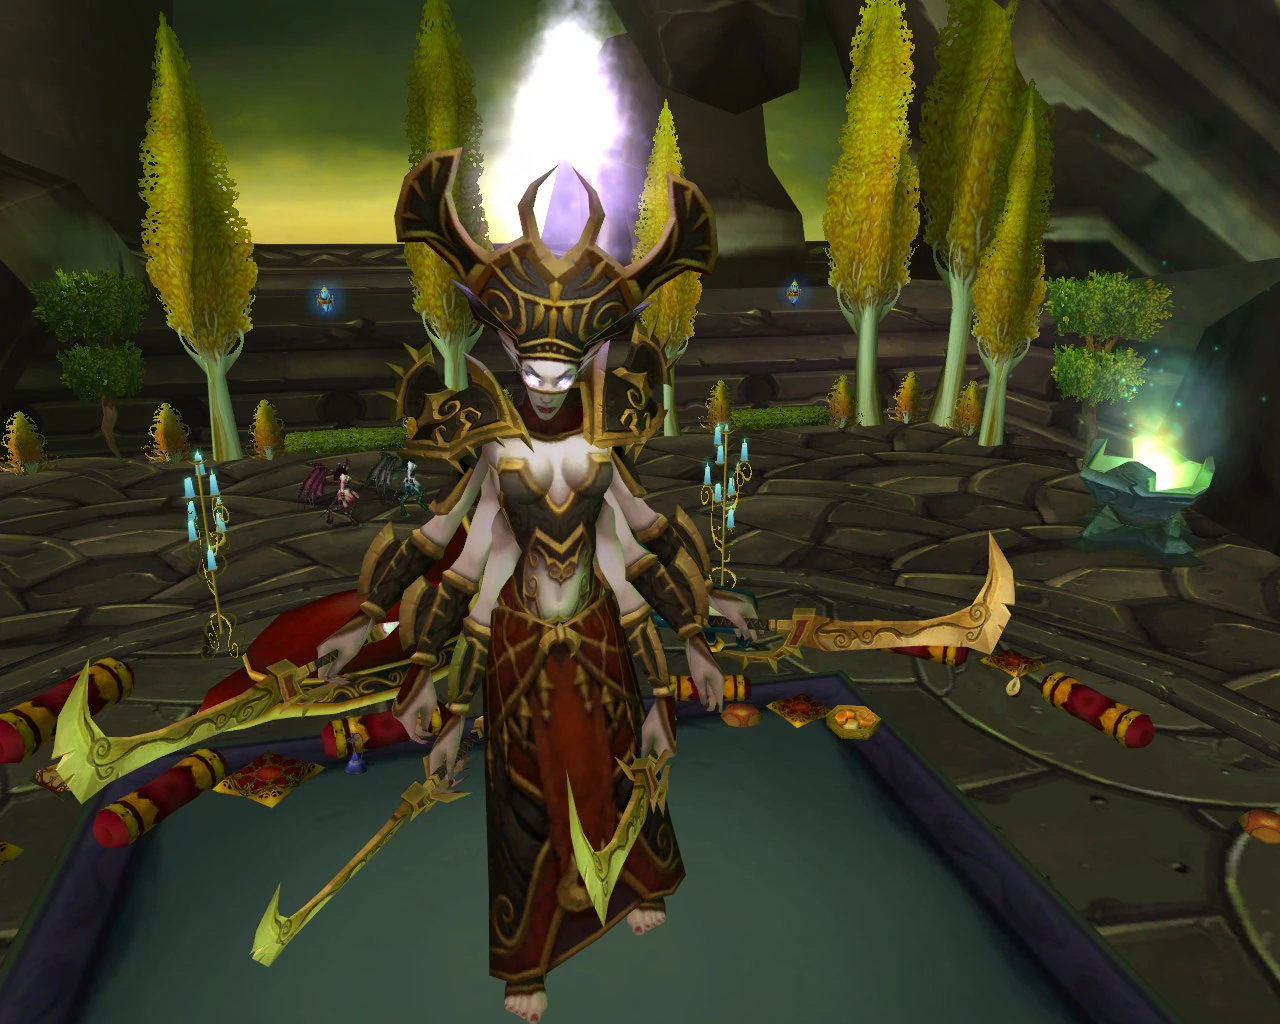
Mother Shahraz
Mother Shahraz is a Shivarra boss in the Black Temple in Shadowmoon Valley.
General information
- Level: ?? Elite (Boss)
- Type: Demon (Shivarra)
- Does not crush.
- World First kill: Nihilum on June 4th 2007
Abilities
A shadow resistance fight. Every 9 seconds, one of the following beams will fire to a random raid member and will jump to other raid members.
- Sinful Beam: Strikes an enemy with shadow energy that jumps to another nearby enemy. Affects up to 10 targets. Deals 6938 to 8062 shadow damage.
- Sinister Beam: Strikes an enemy with shadow energy that jumps to another nearby enemy. Affects up to 10 targets. Causes 2000 shadow damage and has a knockback effect.
- Vile Beam: Strikes an enemy with shadow energy that jumps to another nearby enemy. Affects up to 10 targets. Deals 2500 shadow damage every 2 seconds for 8 seconds.
- Wicked Beam: Strikes an enemy with shadow energy that jumps to another nearby enemy. Affects up to 10 targets. Burns 1000 mana.
- Fatal Attraction: Teleports 3 player to same location and links them with demonic energy. A Debuff on the affected players deals 2775 to 3225 AoE Shadow damage to nearby allies within 15 yards every 1 second, lasts for 30 seconds. The debuff will fade if everyone carrying the debuff is separated 25 yards away from each other. This ability is considered the most random and annoying part of the encounter by most raiders.
- Saber Lash: Frontal cleave-like attack occurs on about 85% of her normal attacks. Does damage divided evenly among all affected targets (up to a max of 2 others besides the main tank), causes 76000-84000 physical damage. 20 yds range. Also provides immunity for beams and Fatal Attraction for 30 secs after it lands.
- Prismatic Shield: Reduces damage done by a school of magic by 10%. The school changes every 15 secs. Every 15 sec, Mother Shahraz will put a set of shields on everyone, each shield will range from 10% to 90% based on the elemental damage she took in last 15 secs, So you will have to switch elemental school every 15 secs or just help bandaging.
Strategy
There are two strategies for this encounter, the 3 groups vs 1 group.
1 Group
All casters / healers stands beneath the right hand pillar near mother shazrah, she is tanked at the opposite pillar facing along the the terrace with melee behind her, this avoids parries when she turns to cast beams (except directly at the melee) which can be deadly as she deals nasty damage to the main tank. Stand underneath the pillar also has the bonus that when player are kncoked up by the Sinister Beam you hit the top of the pillar and take slightly less fall damage
Offtanks stand directly ontop of the MT, try to use a ranged weapon or skill to attack the boss before she reaches the MT, otherwise you will not be in combat and the saberlash will not be split between them, 1 shotting the MT.
Max dps on the boss, people with fatal attraction must take care to run AWAY from the tanks or the caster groups, take a healthstone, put down a shadow protection cauldron at the start of the encounter for everyone.
Advantages: More space for people with fatal attraction to run around in Disadvantages: It is possible for 3 people with fatal attraction to be teleported in to the caster group, this will do some nasty damage potentially causing a wipe
3 Groups
The casters / healers are split into three groups which are placed at equal angles and distances around the boss
Advantages: if a bad fatal attraction occurs at most one group will be hit Disadvantages: it is much more likely a group will be hit by fatal attractions, and people with the attraction have less pace to run apart in
Craftable Resistance Gear
|
Materials needed:
- 1x
 [Heart of Darkness]
 - 1x[Void Crystal]
- 2x[Primal Life]
- 2x[Primal Shadow]
- 1x[Bolt of Imbued Netherweave]
|
Materials needed:
- 8x[Heart of Darkness]
- 4x[Void Crystal]
- 11x[Primal Life]
- 16x[Primal Shadow]
- 5x[Bolt of Imbued Netherweave]
|
Materials needed:
|
Materials needed:
|
Materials needed:
Quotes
Aggro:
- So, business... or pleasure?
Taunt:
- You play, you pay.
- I'm not impressed.
- Enjoying yourselves?
Special:
- You seem a little tense.
- Don't be shy.
- I'm all yours.
Slaying:
- Easy come, easy go.
- So much for a happy ending.
Enraged:
- Stop toying with my emotions!
Death:
- I wasn't finished.
Loot
|
External links
- [Hi-Def 900p Kill Movie] by Buena of Windrunner, Forlorn Legacy.
http://files.filefront.com/Mother+Sharaz1avi/;8732729;/fileinfo.html