No edit summary |
No edit summary |
||
| Line 8: | Line 8: | ||
|creature=Humanoid |
|creature=Humanoid |
||
|aggro = {{aggro|-1|-1}} |
|aggro = {{aggro|-1|-1}} |
||
| − | |status = Dead (Lore) |
+ | |status = Dead (Lore), Defeatable (WoW) |
|location=[[Molten Core]] |
|location=[[Molten Core]] |
||
|instance=Molten Core |
|instance=Molten Core |
||
Revision as of 14:20, 13 January 2009
| Majordomo Executus | |||||||
|---|---|---|---|---|---|---|---|
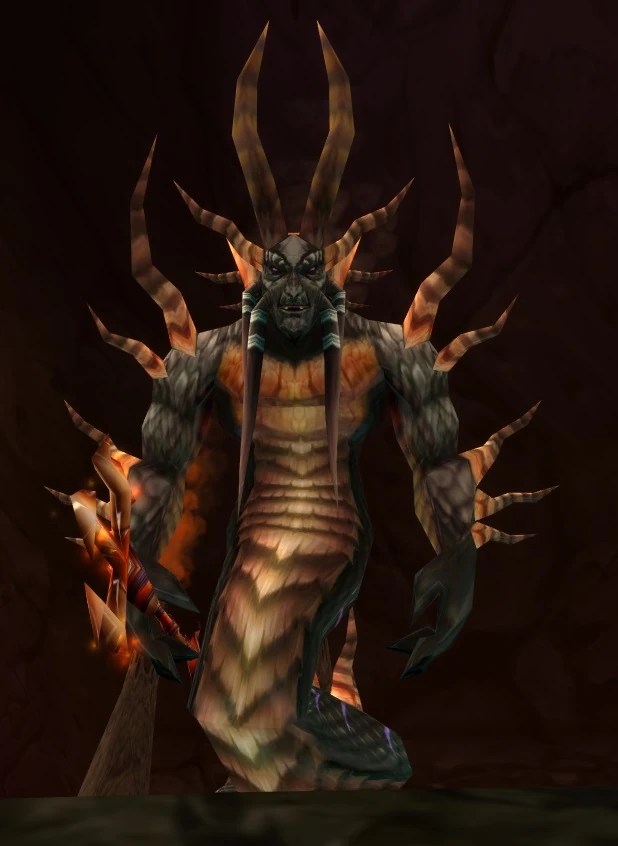 | |||||||
| Race | Flamewaker (Humanoid) | ||||||
| Level | ?? Boss | ||||||
| Reaction | Alliance Horde | ||||||
| Location | Molten Core | ||||||
| Status | Dead (Lore), Defeatable (WoW) | ||||||
| |||||||
At the top of the elemental hierarchy, just beneath Ragnaros himself, resides Majordomo Executus. This flamewaker gained his exalted status by proving to be nearly invincible in the battles that raged within the elemental plane. Rumor has it that Executus supplanted Baron Geddon, and the two have been rivals ever since. Although this rumor has yet to be confirmed, there is certainly no doubt that Ragnaros does not tolerate failure. Thus, the lesser flamewakers (and, of course, Baron Geddon) eagerly await a misstep by Executus, anticipating their chance to vie for the coveted attention of the Firelord.[1]
Executus will only be spawned after you have defeated all the other bosses in Molten Core and doused the runes using ![]() [Aqual Quintessence]. You obtain the Aqual Quintessence by gaining Honored status with the Hydraxian Waterlords, and completing the quest chain ending with Hands of the Enemy.
[Aqual Quintessence]. You obtain the Aqual Quintessence by gaining Honored status with the Hydraxian Waterlords, and completing the quest chain ending with Hands of the Enemy.
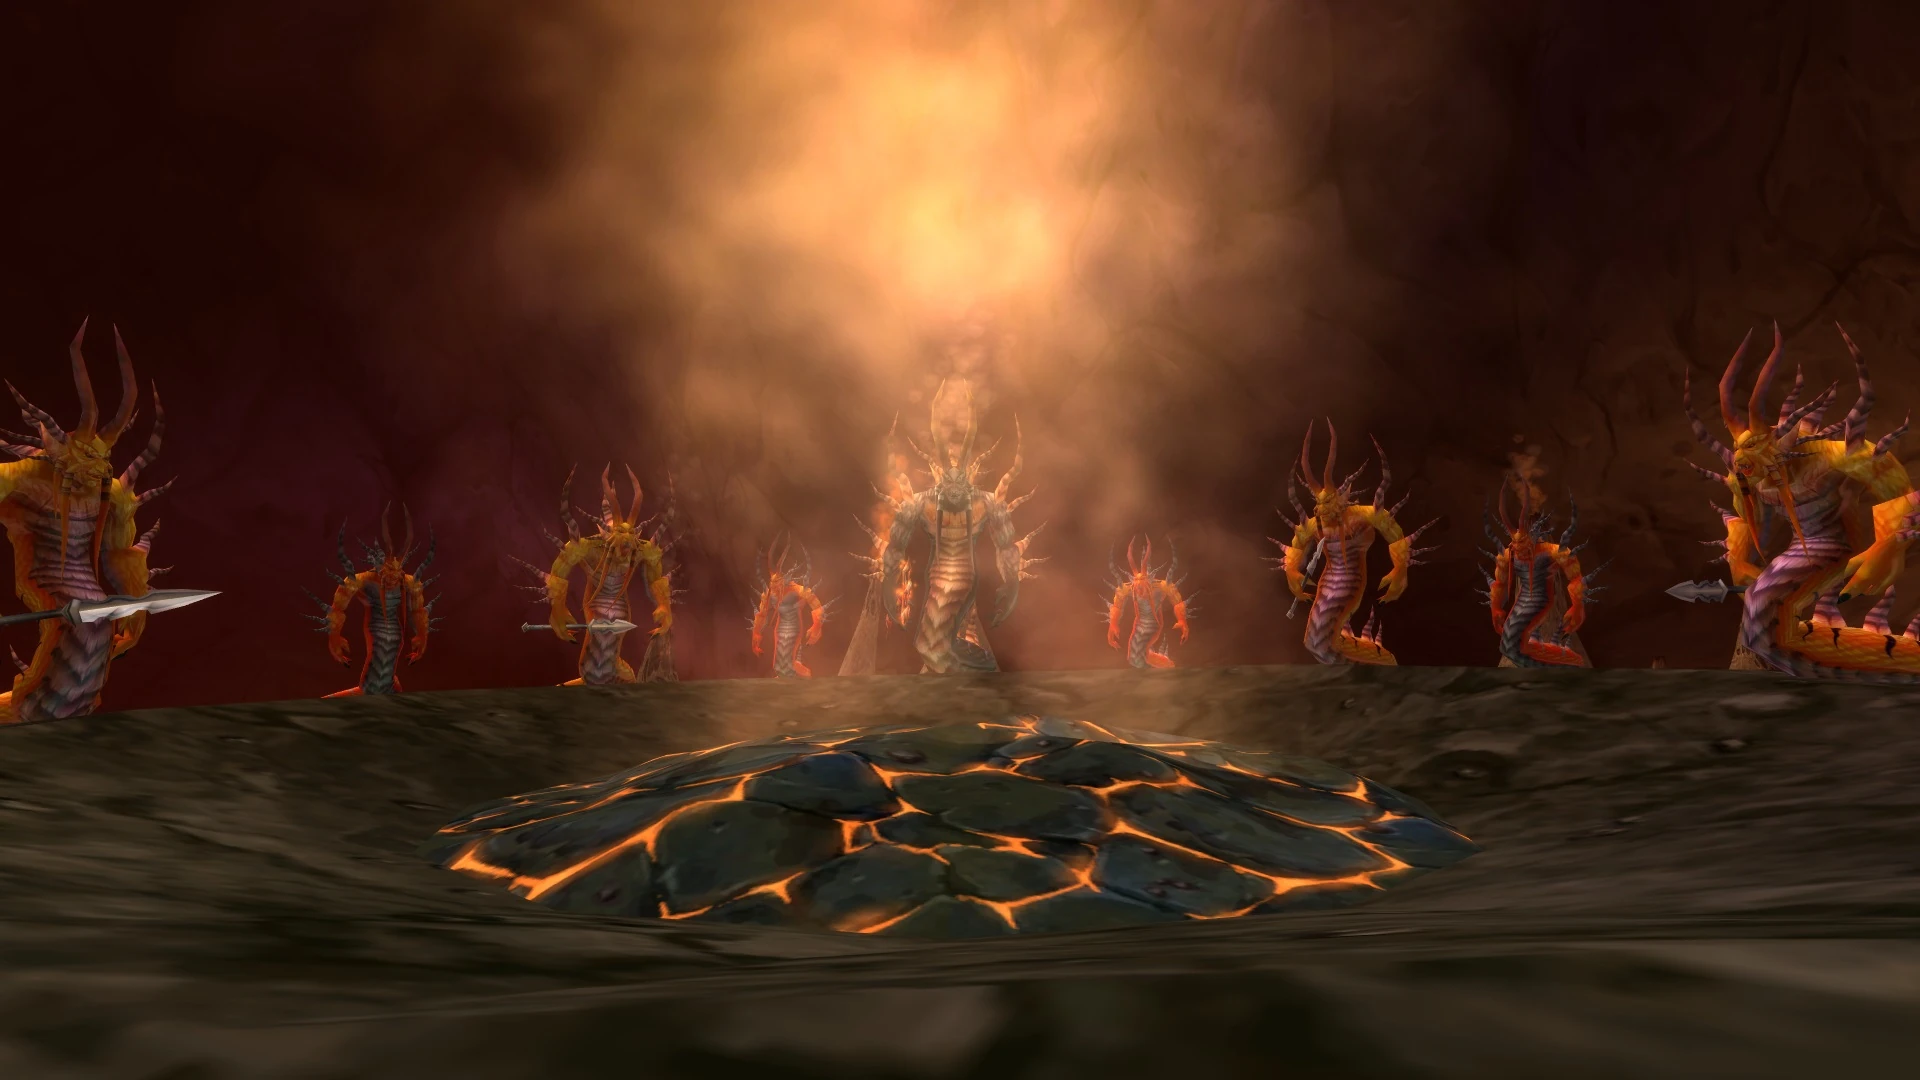
Executus comes with four Flamewaker Healers and four Flamewaker Elite guards making this a total of a nine enemy encounter. Executus will "submit" and the fight is won when all the adds are dead. He then appears in Ragnaros' chamber and will summon the Firelord to begin the encounter.
Attacks and abilities
Majordomo Executus
- Does not hit particularly hard, but must still be tanked as he can do serious damage to the lower armor class characters in the raid.
- Aegis of Ragnaros : Majordomo frequently casts this spell on himself, absorbing 30,000 damage, reflecting 250 damage on successful melee attacks, and healing himself to full. This means that it is literally impossible to kill him.
- Shield : The shield spells last for 10 seconds before fading. Majordomo will give the shield to all his followers.
- Purple Shield – While this shield is up, up to 100 melee damage per hit reflects back to those inflicting it.
- White Shield – While this shield is up, Each magic attack has a 50% chance to reflect back to the attacker.
- Teleport – Any enemy Majordomo is engaged with can be targeted with this random spell that teleports its target into the nearby fiery pit of Molten Core. There is nothing to counter this ability aside from running back. You'll also get randomly hit with 1-2K fire damage while standing on it, so move out quickly. Whoever has been teleported to the center should be overhealed as not to die.
- Blast Wave – A damaging area of effect flame attack which hits nearby players with moderate fire damage.
Elites
- Hits a tank for 800 - 1000 damage
- Fire Blast deals 900 - 1200 fire damage
- Shield – Same as Majordomo.
- Blast Wave – Same as Majordomo.
Healers
- Shield – Same as Majordomo. Do not have your groups' mages cast Polymorph on the healers while the white shield is up, as they can sheep themselves.
- Random Shadowbolts – The Healer’s will also hit random secondary targets with ~1000 damage shadow bolts at raid members in range.
Strategies
Majordomo is not the target of this encounter, to win you must kill all his guards.
You can sheep the healers, however you can only keep them "chain-sheeped" for the beginning of the battle, but sheeping is disabled after 4 of the adds die.
Use Stun and ![]() [Counterspell] when bringing down the healers. This is important for stopping spell casting and bringing them down fast.
[Counterspell] when bringing down the healers. This is important for stopping spell casting and bringing them down fast.
Pull
The MT, a hunter, and a paladin will engage Majordomo. The paladin will pull with divine shield. This paladin will attempt to stand closer to Domo than the MT throughout the fight; Majordomo usually teleports the closest player to him to the fire pit. The hunter distracting shots Domo whenever he charges off so that the tank can regain aggro. Majordomo is susceptible to Taunt, but teleporting the MT, thus lowering his aggro makes him randomly wander away from the MT and into the main raid.
Alternatively you can use a fifth Mage using ![]() [Ice Block], or hunter pet to pull Majordomo.
[Ice Block], or hunter pet to pull Majordomo.
Sheeps
Mages will pull their adds from the group with ![]() [Counterspell] and then sheep them. Hunters will pull their adds to the Tanks. From a mage point of view, while sheeping, it is critical to drink a Fire protection potion 2 minutes prior to the fight. As well, while sheeping, you should ALWAYS have
[Counterspell] and then sheep them. Hunters will pull their adds to the Tanks. From a mage point of view, while sheeping, it is critical to drink a Fire protection potion 2 minutes prior to the fight. As well, while sheeping, you should ALWAYS have ![]() [Mana Shield] /
[Mana Shield] / ![]() [Fire Ward] up, as well as detect magic on the sheep. Never lose your target unless you are far away from all other sheeps and you keep your eye on it. Bandage right after casting a new polymorph. Do NOT
[Fire Ward] up, as well as detect magic on the sheep. Never lose your target unless you are far away from all other sheeps and you keep your eye on it. Bandage right after casting a new polymorph. Do NOT ![]() [Polymorph] while magic reflection is up. Sheeping is fine with damage reflection. At the pull, mages should have fire ward/mana shield up. Get within max distance of Counterspell and use it to pull aggro, and immediately sheep.
[Polymorph] while magic reflection is up. Sheeping is fine with damage reflection. At the pull, mages should have fire ward/mana shield up. Get within max distance of Counterspell and use it to pull aggro, and immediately sheep.
Be sure to keep notice of which shields are up on the mobs. White means that casters should take a break from hurling DPS, and purple means that melee classes should stay back (aside from the tank, who should be keeping aggro). We have mods which will give notification when the shields go up and down.
Each Paladin, except the portal caster, is assigned to a mage. If the healer unsheeps while shield is up or the mage dies, pally needs to stun or off tank till shield is down. Alternatively you could use a hunter for this.
Powers
Every so often, Majordomo will give his helpers a shield. The shields last for 10 seconds and either have a 50% chance of reflecting magic attacks, or can reflect up to 100 melee damage when hit. Keep an eye on raid chat for these.
Killing the adds
The order of the kills is important to new guilds trying this encounter, and less so to those who have done this enough times to allow some small errors.
Follow the Leader
For new guilds, the most forgiving method is to kill one Elite, then the four Healers, then the other Elites. This means that you won't have tanks switching targets mid-way through the fight, with the exception of the Leading Tank. It also frees up the Mages a little quicker, increasing the DPS.
Assign one Tank to Majordomo. 4 Tanks to the Elites. 4 Mages to the Healers. One of the Tanks on the Elites is the Leading Tank. His Elite is killed first. He then chooses a sheep, and starts to tank it. Everyone follows him, and kills it. Then he chooses another sheep, and so on, until all of them are down.
Once the Healers are down, the Leading Tank makes his way to the nearest Elite, and the raid kills that. Repeat until all adds are down.
Materials
This battle is a test of the mana efficiency of the healers, who should bring as many Major Mana Potions as possible. Other raid members should be liberal in their use of fire and shadow protection potions, healing potions, and bandages.
Alternate Strat
Another way to do this is instead sheep all 4 priests, kill 3 elites, then kill the last elite and 1 priest at the same time. Then proceed to kill the priests with the original tanks on the priests. This strategy frees the tank groups from excessive healing and allows more DPS to flow on the adds. Healers can keep DPS up, Tank warriors can DPS, etc.
Another Strategy
Polymorph the healers as normal, then kill two elites, then one healer. This leave you with 3 polymorphable healers and 2 elites left. DPS an Elite down to 10-15%, then switch DPS to the other Elite and kill it, then the other damaged Elite in quick succession. This allows the raid to not have to deal with 4 targets at once when the Healers become immune to the polymorph and makes things a little bit easier but is a bit tricky to implement.
And another strategy
Polymorph the healers, kill two elites, bring the other two elites to 30% health. Break a sheep and kill that healer. Break the next sheep and kill that healer. Assist train the two elites that were brought down to 30% earlier, then kill the remaining healers. The idea here is similar to the strategy outlined above, but is meant to limit the amount of time the raid must deal with 4 targets up by making the 2 elites left alive quick kills after the healers become immune to polymorph.
Reward
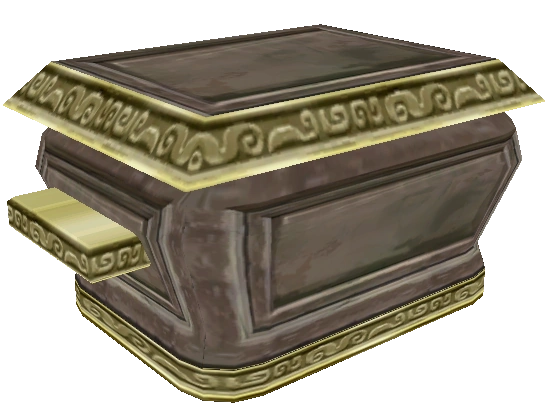
Cache of the Firelord.
Majordomo Executus himself does not drop loot as he in fact does not die. He instead offers access to the Cache of the Firelord.
Reputation: Does not provide reputation gains with the Hydraxian Waterlords.
Notes
Videos
| Majordomo Executus from a Hunter's Perspective |
|---|